How To: Record Your Mac's Screen for Free Using QuickTime
When a friend asks me what screen recording software is best to use, I always say the same thing—you don't need any! Even though it's been around since 2009, many Mac owners do not realize that they have a powerful screen recording software built right into OS X.You can record the full screen, or just a selection of it, and edit it right in the app after you're done.So, if you need to make a screen recording to show a friend how to use Photoshop, or to capture some gameplay footage you want to upload to YouTube, I'll show you how it's done—without spending a dime.This will also work for recording the screen of your iPad, iPhone, and iPod touch, but more on that later. Just make sure you're running Mac OS X version 10.6 or higher to record your Mac's screen.
Step 1: Launch QuickTime PlayerOpen QuickTime Player, either from Spotlight, your Applications folder, or Launchpad. Note that this will not work with QuickTime 7 or 7 Pro, so use the QuickTime Player (version 10 or higher) that comes preinstalled.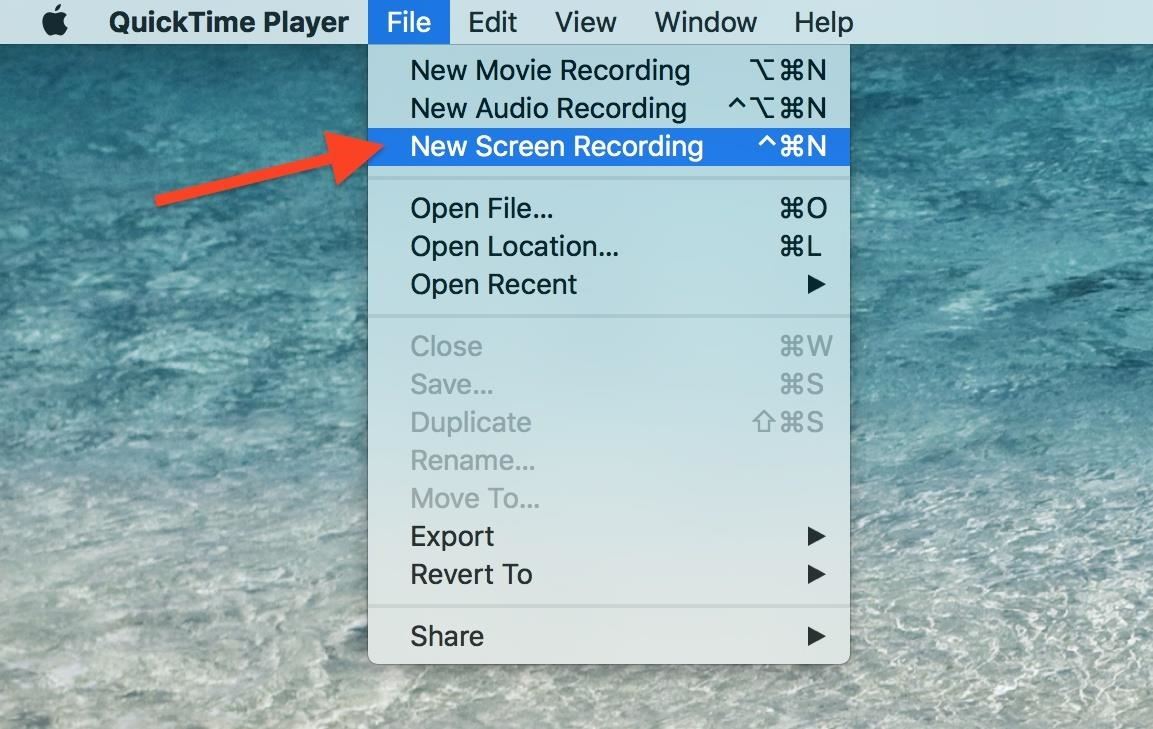
Step 2: Choose the Screen Record OptionIgnore the Finder popup window that appears and go to File in the menu bar, then choose the New Screen Recording option. (Alternatively, you can use the Control + Command + N keyboard shortcut.) The screen recording window should pop up.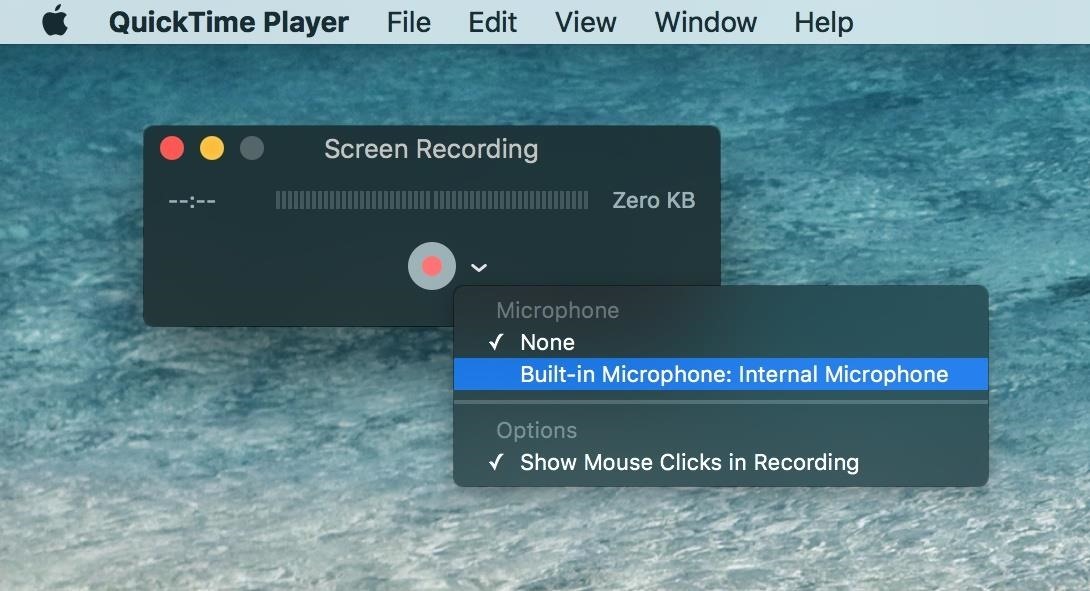
Step 3: Add Audio (Optional)On the right side of the red record button, click the downward-facing chevron to bring up your options. There's a microphone option that will allow you to narrate as the screen records. If you choose this option, a basic volume meter and slider will be seen in the Screen Recording window, so you can test and adjust sound levels before you actually start recording. If you don't want to record any audio, then just choose None.
Step 4: Add Mouse Clicks (Optional)In the available options, you can also set to show mouse clicks. Enabling this feature will not only show the mouse arrow in your final video, but will also show a black circle around the arrow every time the mouse is clicked. If you don't want to see the mouse in your final video, just uncheck this option.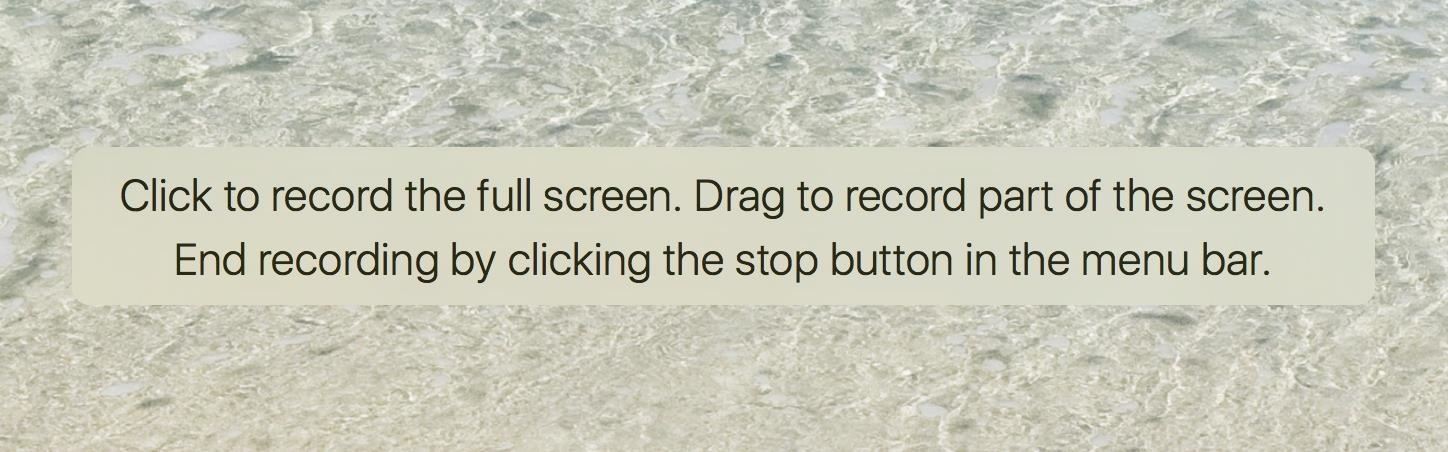
Step 5: Start RecordingWhen you press the red record button, the Screen Recording window will hide itself, and you will be greeted with the following instructions: As declared, clicking once anywhere will begin recording the whole screen. (If you have multiple displays, it will begin recording on the display you clicked on.)If you want to record a certain area, instead of clicking, just drag around the desired area with your mouse. Once you've adjusted the borders, hit the "Start Recording" button in the middle to begin recording.
Step 6: Stop RecordingOnce you hit the stop button in the menu bar, QuickTime Player will stop recording and show you what you have just recorded.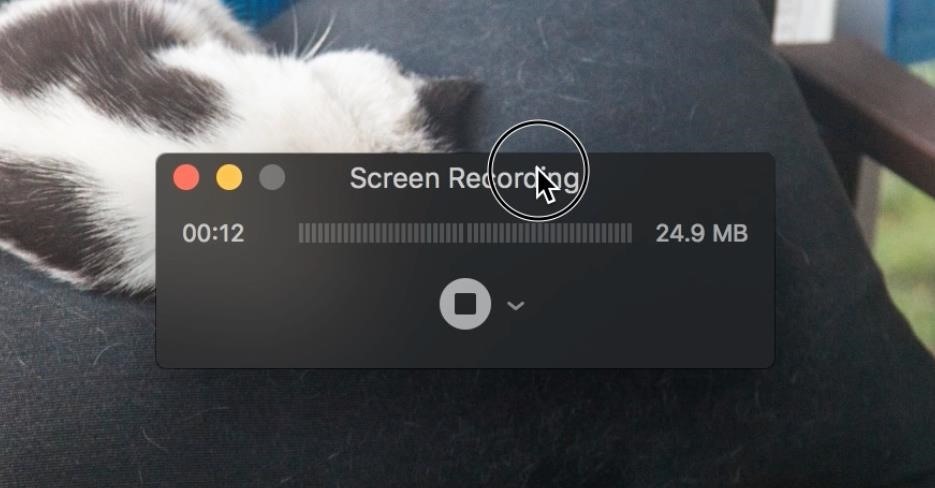
Note About Using the Esc KeyIf you press the Esc key before you start recording, you'll return to the Screen Recording window where you can choose your options again.If you press it while recording, the Screen Recording window will appear again and become a part of your recording. The Screen Recording window will give you information like time elapsed, file size, the volume meter and slider (if also recording audio), and you'll have to stop the recording directly from there instead of the menu bar. This can be useful if you're recording a certain part of the screen, then having the Screen Recording window present, but outside of your selected recording area, can help you keep track of file size, time, and can let you know if the audio is too loud.
Step 7: Save RecordingIf you like what you see, you can save the video as a .MOV file. Just do the usual process of going to File -> Save from the menu bar or hit Command + S instead. You can also just click on the red X button in the video window, and it'll prompt you to save it before exiting. Naturally, the resolution of the recording is the resolution of your display (if recording the full screen). For example, if recording an entire 1440 x 900 pixel display, then the resolution of the recording will be 1440 x 900 as well.One more thing to keep in mind is video quality. Generally, QuickTime will do a fine job of recording your screen. However, if you're running a heavy-duty program like a graphically intensive video game, then depending on your Mac's "horsepower," the video quality might suffer.If the perfectionist inside you is not satisfied, simply discard the recording using the red X, don't save it, then try a new recording.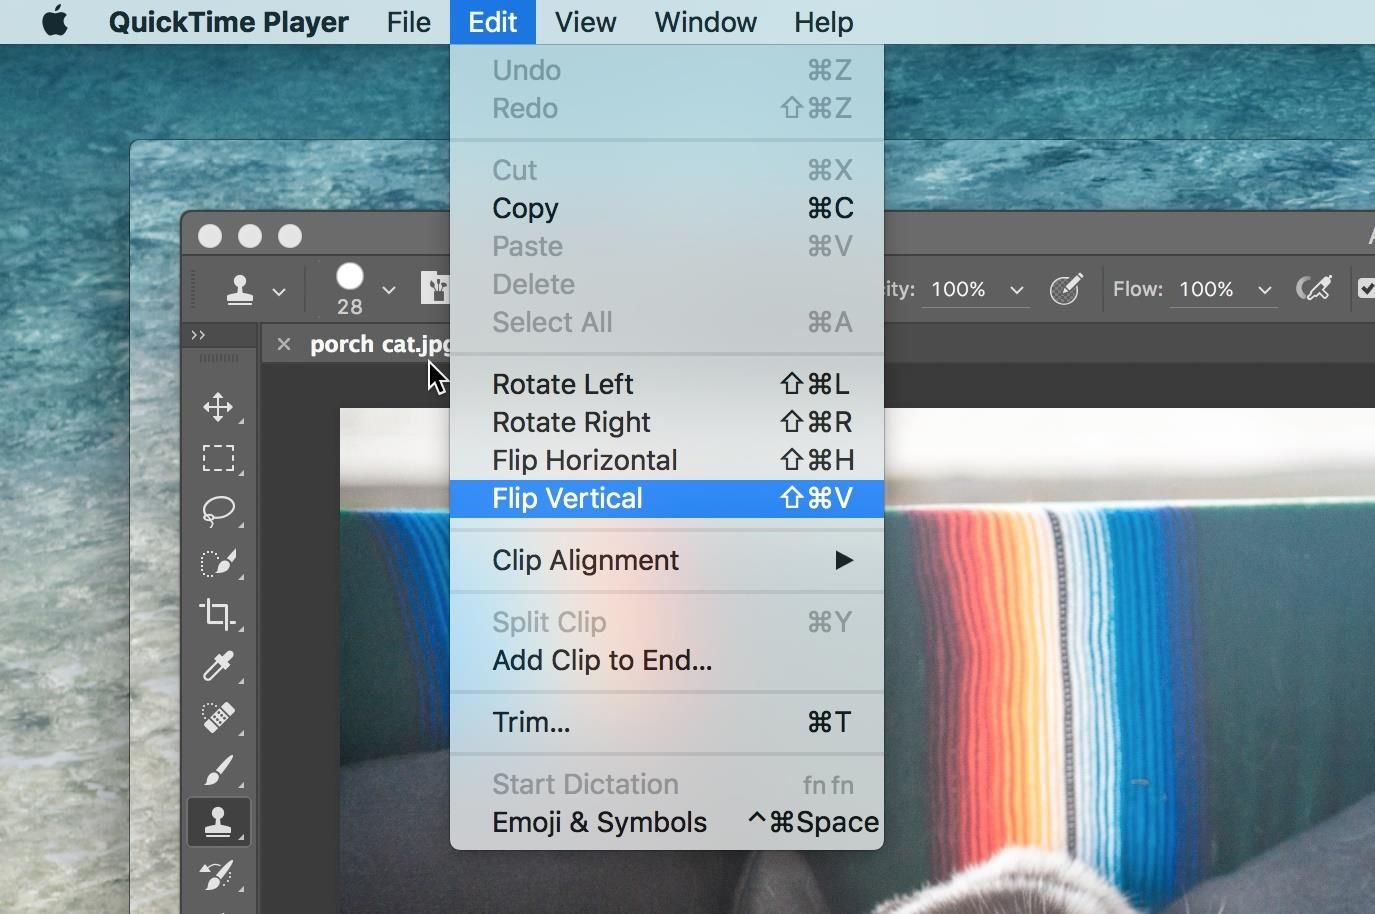
Step 8: Edit Your VideoBefore or after you save, you can do some basic edits of the video file with QuickTime Player itself. Options include trimming, splitting, flipping, and rotating the canvas, among other things. Or, you can load up the .MOV file into iMovie or Final Cut or your preferred video editor and add in some nice video magic that way.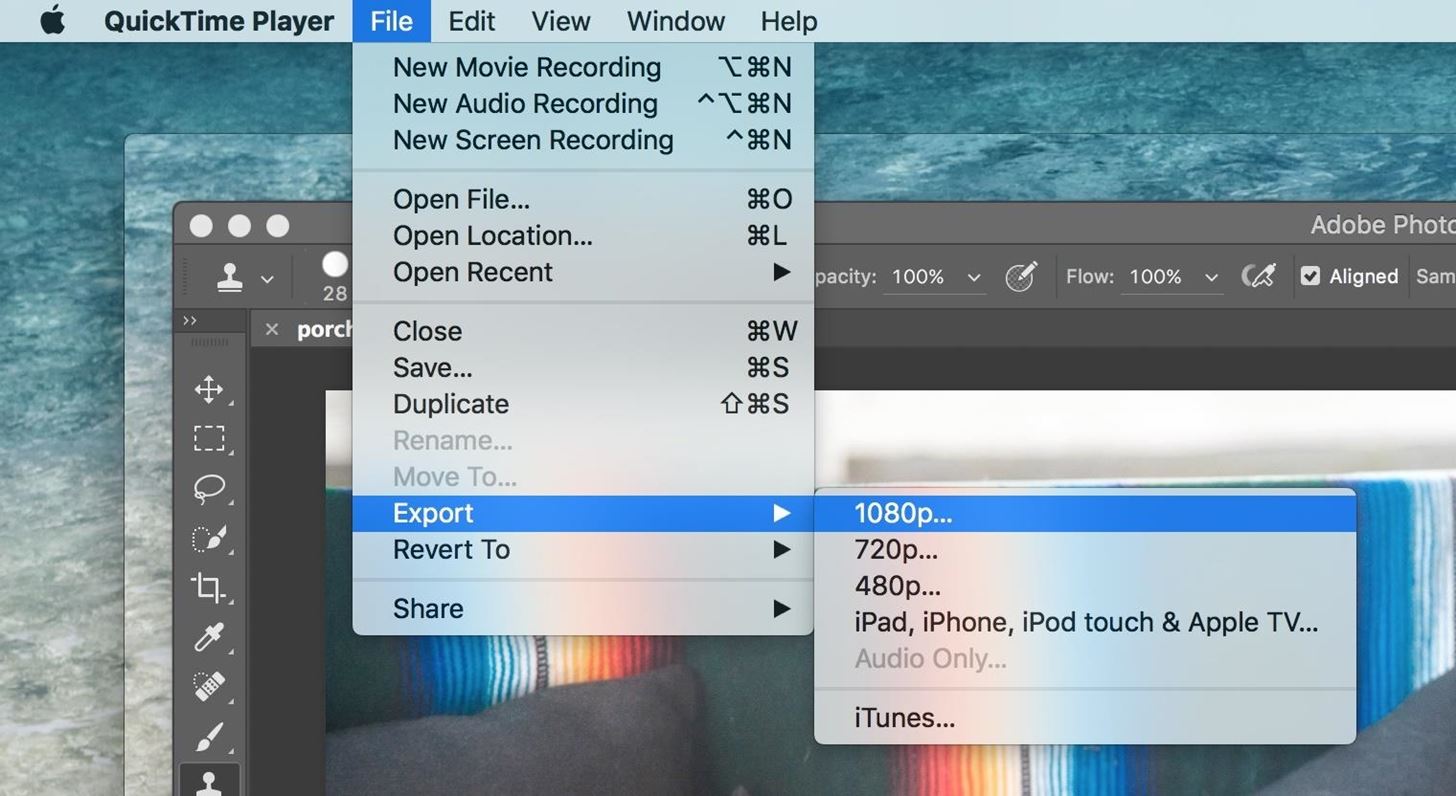
Step 9: Share Your VideoIf you wish, you can export and share the video from QuickTime itself. Just go to File in the menu bar and choose Export or Share. You can export in different resolutions or choose to just export the audio (if you recorded audio), or just send the video to iTunes. The share option gives you the standard OS X sharing methods of Mail, Messages, Notes, Photos, or AirDrop, and you can upload to Vimeo, Facebook, Flickr, or YouTube.
Recording the Screen of Your iOS DeviceLike I said earlier, you can also record the screen of your iPad, iPhone, or iPod touch using this method. You will need to be running Max OS X version 10.10 or higher though with QuickTime version 10.4 or higher, and your iOS device must be on iOS 8 or higher.Don't Miss: How to Record Your iPhone's Screen Using QuickTimeAs you can see, QuickTime Player is a very handy tool built right into your Mac. If you've never used it before, you've now got a reason to add this app to your Dock for faster access.Follow Gadget Hacks on Facebook, Twitter, Google+, and YouTube Follow WonderHowTo on Facebook, Twitter, and Google+
Screenshots by Justin Meyers/Gadget Hacks
POCO is one of the top launcher and full-featured customizable for Android phones. It was mainly designed for providing more secure, to run fastly and seems to be beautiful.
How to Remove Google From Your Life (And Why That's Nearly
LED Dash Light Multi-Packs; Hideaway Strobe Lights; Hideaway Strobe Light Multi-Packs; Emergency Light and Siren Bundles; Visor Light bars; Dual Color Technology; Emergency Vehicle Sirens. Sirens; Siren Speakers; Siren Bundles; Control Boxes; Mounting Brackets; Wiring & Connectors; Strobe LED Lights by Color. Amber LED Strobe Lights; Blue LED
How to Add LED lights to avoid speed detection while driving
Category Science & Technology; Song Forever (Album Version (Explicit)) Artist Eminem; Licensed to YouTube by UMG (on behalf of Interscope); PEDL, LatinAutor - SonyATV, UMPI, LatinAutor - UMPG
How to set-up and install your own ringtones on the HTC
There are several features included in the wiring diagram which are optional and may not be included in your bar. The shielded cable will be an audio input to the amplifier/speaker. The single large black wire is the ground and all 12V lines are in the 19 conductor control cable.
Light Bar Draining Battery what did I do wrong? | LED Light Bars
If you really love to see the Bing Daily Picture and really want to use it as your desktop background on your Windows computer, this article can explain how you can make these images appear as your desktop background, and even change them whenever the website picture changes.
How to set Bing's daily wallpaper as your lockscreen on
If you would like to use your Facebook chat but are hiding from a particular friend, check out this tutorial. Sometimes you just aren't in the mood to talk to certain people and you don't want them to see that you are online.
How can I hide my online status? - Facebook
The Best FireStick APP For Movies & TV Shows + How To Install 🔥 The Best FireStick APP For Movies & TV Shows + How To Install 🔥 - New Kodi Builds In this latest Kodi Build tutorial, we look at The Best FireStick APP For Movies & TV Shows + How To Install 🔥 and learn how to install this NEW KODI BUILD.
15 Best Android Apps To Stream, Download Movies and TV Shows Free
Name *. Email *. Website. Notify me of follow-up comments by email. Notify me of new posts by email. By using this form you agree with the storage and handling of your data by this website.
how firefox play video in youtube? | Firefox Support Forum
The iPhone Video recorder v1.1 as mentioned earlier records both audio and video to the compressed mpeg4 format. The latest version of the native iPhone application comes with Audio bit Rate control, four image quality options, audio input amp and four different video size modes.
How to Record Your iPad or iPhone Screen Without Jailbreaking
If you feel your Facebook profile is too static, Facebook is giving you 7 seconds to work with. You now have the option of ditching your profile picture for a short, looping profile video. To make
Well, the method is a bit elaborated and maybe a bit unorthodox, to begin with, but it works. Sadly, it works only for the numerical password. Open RAR File without Password with RAR Password Recovery (Best Method) If using Notepad to open password protected RAR file seems too complicated, you can always use a professional, RAR Password
How to Remove Password from RAR File without Software
How To: Pimp Out Your Tweets with Rich Text Formatting on Twitter How To: Text Better on Your Samsung Galaxy S4 with This Hybrid Messaging App Based on Android 4.3 & CyanogenMod 10.2 How To: Copy, Share & Search Text from Almost Anywhere in Chrome on Android
How to write in bold letters on Twitter - Quora
0 comments:
Post a Comment