How To: Add & Activate an eSIM Line on Your iPhone XS, XS Max, or XR
All of the new iPhones from 2018 were released with dual-SIM support, but none of them were capable of actually using the eSIM in iOS 12, only the physical nano-SIM. But on iOS 12.1 and later, you can finally take advantage of eSIM so you can have, say, a business and personal plan on your iPhone XS, XS Max, or XR at the same time.
Requirements for Activating Secondary LinesSetting it up can be pretty confusing since digital eSIM is a completely new thing for iPhones. First, obviously, you need to have either an iPhone XS, XS Max, or XR with dual-SIM compatibility. Next, you need to have iOS 12.1 or later installed, which includes support for eSIM in the aforementioned devices.You'll also need to have an unlocked iPhone XS, XS Max, or XR in order to use plans from two different carriers simultaneously, otherwise, you'll need to use the same carrier — the one you already have a plan with.In the US, only AT&T and Verizon Wireless currently support eSIM use in your iPhone, T-Mobile will be adding support very soon. Sprint has also indicated they will support eSIM but gave no time table. However, if you just need some wireless internet when traveling out of the country, GigSky and Truphone support eSIM for data-only.Don't Miss: Which Wireless Carriers Support eSIM? The Always-Up-to-Date List for iPhone XS, XS Max & XR Another very important thing to mention is that if you use Sprint or Verizon Wireless, a CDMA provider, as your first activated line, your second SIM will not support another CDMA account, according to Apple. That means you'll need to use a GSM-based plan as a secondary as long as your iPhone is unlocked. If you bought your iPhone from Apple or Verizon directly, it will be unlocked, and it's the same for Sprint in most cases.
Multiple eSIM Plans Are SupportedWhile you can only use two cellular plans at the same time on your newer iPhone model, when making or receiving calls, you can only use one at a time. If you get another call from the opposite plan, it won't try and break through but will instead go straight to voicemail. So keep that in mind.Also keep in mind that you can have more than one plan on the eSIM, but that only one can be in focus at a time, meaning the other plans will not be usable at all until you manually switch between your current eSIM plan to another eSIM plan on your device.Don't Miss: 4 Reasons You Should Use eSIM on Your New iPhone
Step 1: Activate Another Line on the eSIMYou likely already have your primary cellular plan on your iPhone XS, XS Max, or XR on your nano-SIM, so in order to add a secondary plan like a work account, a local data plan in another country when traveling, or a separate data plan just because, to name a few examples, you'll need to scan a QR code from your carrier, use your carrier's app, or enter the information in manually.Before going any further, however, we suggest you contact your carrier to transfer your current nano-SIM account to the eSIM so it's easier to pop in a nano-SIM when traveling. However, if that doesn't matter to you or your carrier will not do it, you can simply activate a second or third line on the eSIM itself, like from a data-only provider like GigSky, which is geared toward travelers.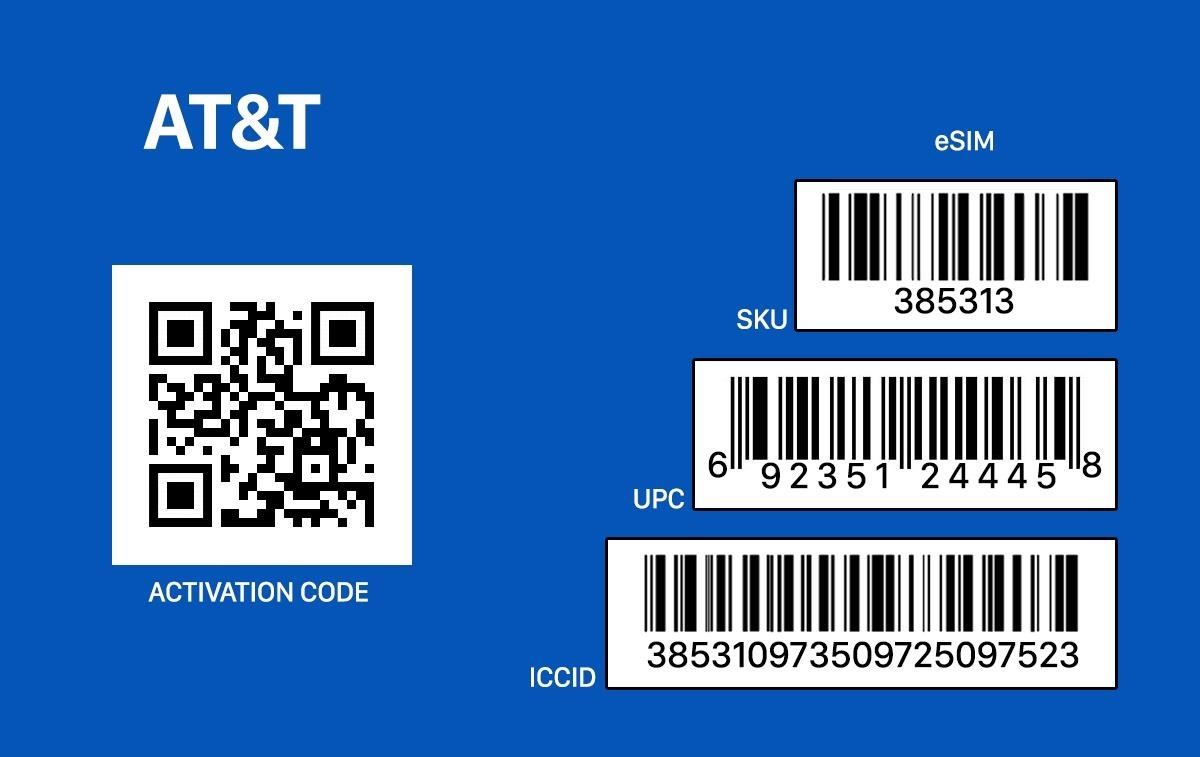
Option 1: Scan a QR Code from Your CarrierIf you get a secondary plan from either your current carrier or another carrier (if you have an unlocked iPhone), they should provide you with a QR code either in person on a receipt or via an email that you can scan to easily set up the plan. An example of what an AT&T eSIM activation card may look like. Once you have the QR code, open up the Settings app, tap "Cellular," then "Add Cellular Plan." Next, scan the QR code, and that's it. You may be asked to enter a confirmation code, which your provider would have given you, so use that to complete the process if you need to.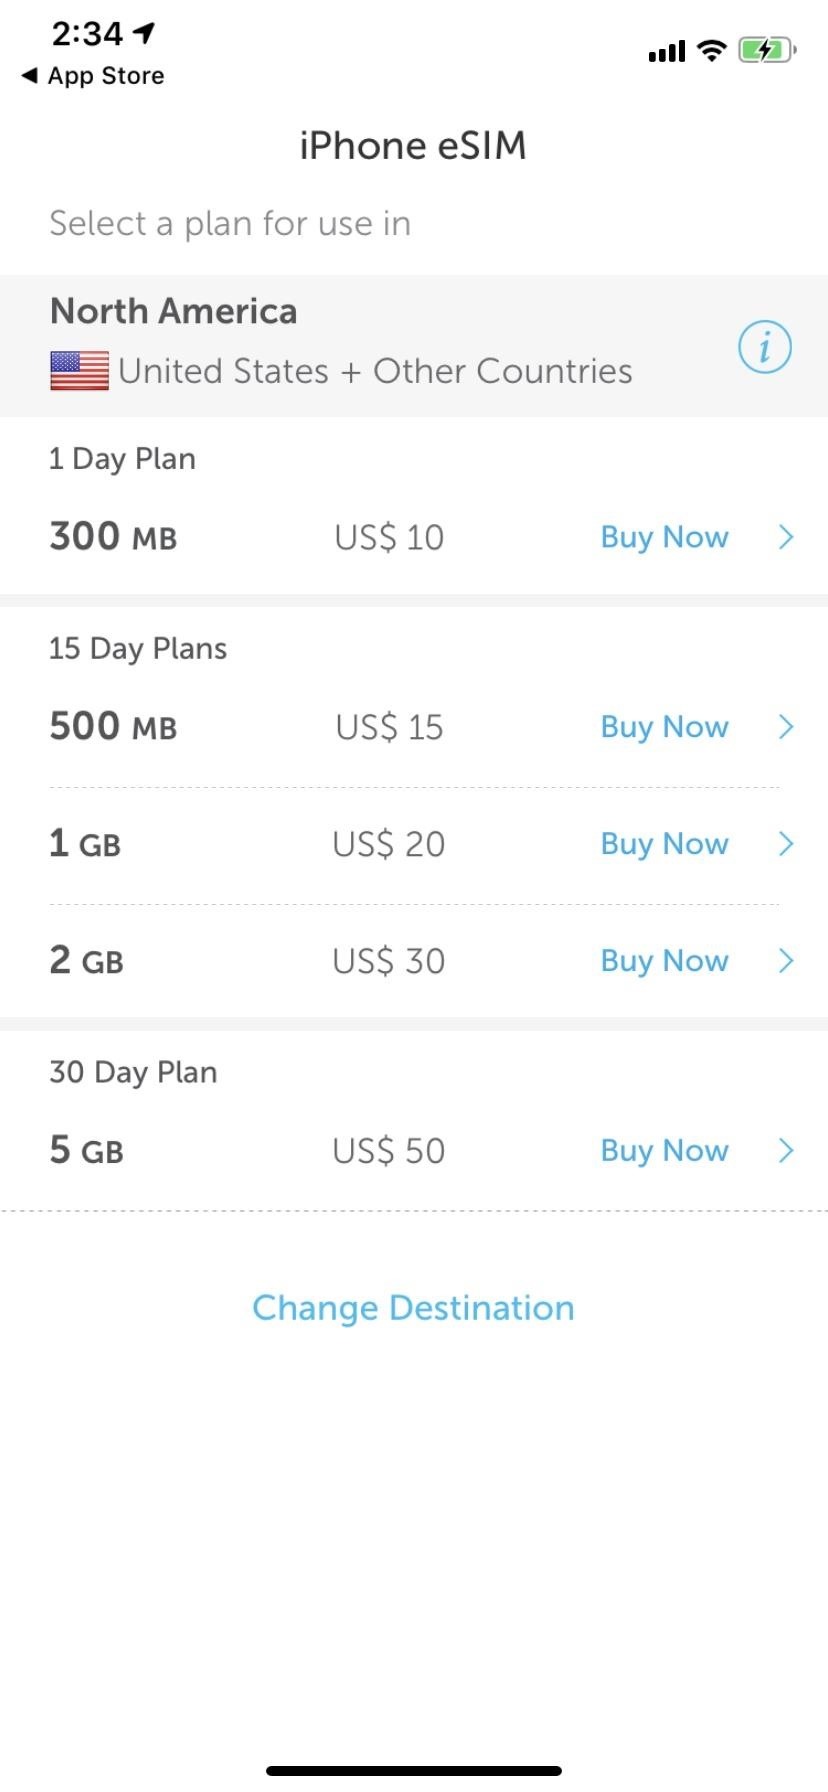
Option 2: Use Your Carrier's App to Get a PlanIn some cases, you can buy a secondary plan right from your carrier's app on your iPhone. For the big US carriers, that's only My Verizon right now. While AT&T supports eSIMs, you cannot yet add a plan from its myAT&T app. The T-Mobile app will let you set up prepaid plans very soon, while there is no info yet on whether the My Sprint Mobile will eventually work.However, other carriers like GigSky and Truphone, which offer prepaid plans for traveling, will also work. Each app will be different, so you'll need to figure out how to buy a secondary plan with it. During the process, you'll be able to set it up right on your eSIM.You won't be able to use the Sprint or Verizon app to purchase a secondary line if you are already on a CDMA network with your current plan. If you use AT&T or T-Mobile as your first activated line, you will be able to set a CDMA-based version up as a second plan using the Sprint or Verizon app, or you can set up another GSM-based line with the AT&T or T-Mobile app.Don't Miss: GigSky Supports eSIM for Easy Cellular Data When Traveling Going through the process via GigSky's app.
Option 3: Manually Enter the InformationIn cases where the above two options aren't available, you can still manually enter the information for your secondary line. Open up the Settings app, tap "Cellular," then "Add Cellular Plan." At the bottom of the Scan QR Code screen, tap "Enter Details Manually."You'll need to have the SM-DP+ address from your carrier, which is the Subscription Manager Data Preparation entity used to encrypt operator credentials during an over-the-air SIM activation. Also, you'll need an activation and confirmation code.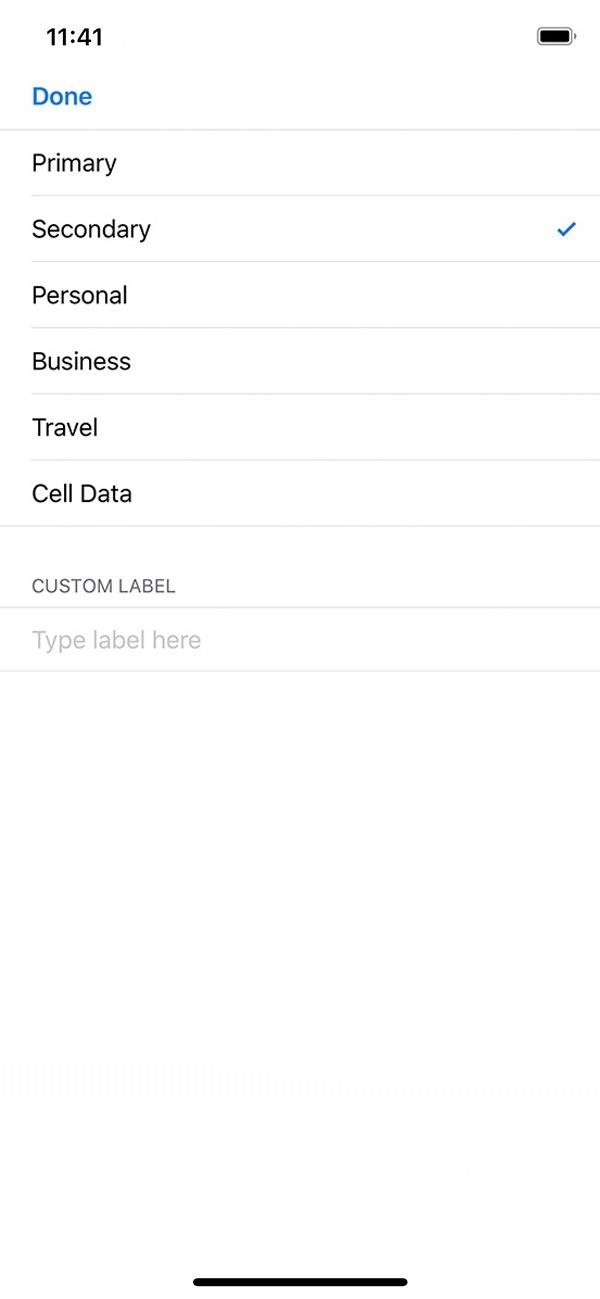
Step 2: Label Your New eSIM PlanAfter the plan has been activated, you'll need to label it so you can easily tell what plan you're using on your iPhone, your primary one or the one you just added. You'll be able to choose between "Primary," "Secondary," "Personal," "Business," "Travel," or "Cell Data," but you can also type out your own custom label.Afterward, hit "Done" to complete the setup. You can always change this later in "Cellular Plan Label" in the plan's cellular settings.
Step 3: Choose How It Works with Your Other PlanOnce you've labeled your new line, you'll now need to choose how your two plans work together on your iPhone (see second screenshot above). On the Default Line screen, you can choose either of the following options.Use "[First Plan Name]" as your default line. "[Second Plan Name]" will be available for phone and SMS. (This means your first plan will be your primary, so it will be the default for voice, SMS, data, iMessage, and FaceTime calls. The second plan will just be for voice and SMS.) Use "[Second Plan Name]" as your default line. "[First Plan Name]" will be available for phone and SMS. (This means your second plan will be your primary, so it will be the default for voice, SMS, data, iMessage, and FaceTime calls. The first plan will just be for voice and SMS.) Use "[Second Plan Name]" for cellular data only. "[First Plan Name]" will be your default line. (This means your second plan will only be used for data, which is a good option when you're traveling, and your first plan will be the default for voice, SMS, data, iMessage, and FaceTime calls.) Now that your iPhone is set up with two different plans you can use at the same time, you can start using them. In the Contacts app, you can assign your SIM account to contacts so it always defaults to using that account for each person. When making calls, you can change which line is used for iMessages and texts by default or you can switch when composing a new message. And that's just the start.Don't Miss: Everything You Need to Know About Using Dual SIMs on the iPhone XS, XS Max & XRFollow Gadget Hacks on Pinterest, Reddit, Twitter, YouTube, and Flipboard Sign up for Gadget Hacks' daily newsletter or weekly Android and iOS updates Follow WonderHowTo on Facebook, Twitter, Pinterest, and Flipboard
Cover photo, images, and screenshots by Justin Meyers/Gadget Hacks
iPhone screen replacement costs in the United States. The repair pricing in this chart applies only to screen damage. If you have any other damage to your iPhone, you'll pay additional costs. Not sure if you're covered? Check if you have AppleCare+ coverage by entering your iPhone serial number.
PDF iPhone 4 How-To Take Apart Repair Guide - RepairsUniverse
site.repairsuniverse.com/repair-guides-pdf/apple/iphone/iphone-4-how-to-repair-pdf.pdf
Your iPhone 4G is now disassembled and you can replace the damaged part(s) with new one. Reverse the instructions above to reassemble your phone. RepairsUniverse also has an iPhone 4S Video Repair Guide that will show the take apart and screen replacement process.
Here's How Apple Decides If You Deserve a Free iPhone Repair
How to use Maps extensions on iPhone and iPad. Every Maps extension is going to work a little differently, but to give you a rough idea of how they work, I will use OpenTable to show you how it can work. Launch Maps from your Home Screen. Tap the search bar; Start typing in the name of the restaurant you want.
The process to send the same message to every contact one by one or by using the forward option is very lengthy. It takes too much time and makes us frustrated. Because you know that you can send WhatsApp message to multiple contacts using a broadcast list and do not want to use that for the same.
How To Send Messages To Multiple Contacts On Whatsapp Without
Did you know you can intersect models when working in Google SketchUp? If you didn't, that's because the intersection tool is only available from the contexts menu. This SketchUp tutorial will show you how to find the tool and use it to intersect SketchUp objects.
How to Create a Uniform Sloped Roof in SketchUp: 8 Steps
This is the "Learning Android Functions" video from the "How To Use Android Phones: The Video Guide" vook. To learn more about this or other Vook titles, please go to
Now, you will need Google's physical Google Wallet Card in order to access ATMs and withdraw your money—but it's free and you can order your card via the app or right here. Once you've loaded up your Wallet Balance with your gift cards, you can proceed to any ATM and withdraw your money to purchase "cash friendly" items with the card.
30 Awesome DIY Projects that You've Never Heard of
As we have already mentioned, you can download subtitles for you Kodi content via some Kodi add-ons. Opensubtitles.org is a big library of subtitles. Here you can find subtitles for almost all TV shows and movies. Maybe not all. Not literally. But it does keep subtitles for a wide range of TV shows and movies. It also has an official Kodi add-on.
HOW TO SETUP SUBTITLES ON KODI FOR MOVIES AND TV SHOWS - YouTube
If you've ever had an iPhone, it's fairly easy to adjust the intensity of your flashlight using apps like this one to dim the LED, but for some reason, this is not an easy task on Android devices like our Samsung Galaxy Note 2s. But it can be done.
Quick Tip: Change Your Galaxy S8's LED Flashlight Brightness
This Free Theme Can Make Windows 10 Look like Mac OS X Yosemite. and given the fact that users want more changes from Windows 10 in terms of visual improvements, it was only a matter of time
How to Create Custom Video Boot Animations on Android KitKat
With few voice commands, you can stream your favorite music from Google Play Music to Google Home. If you already have your local music on Google Play Music, Google home can find those tracks and stream for you. To start to upload Local Music to Google Play, first of all, make sure you have a Google Play Music account.
How to Refresh Your Google Play Music Library and Find Your
How to Build an animal detector with a motion light & webcam
0 comments:
Post a Comment