How To: Enable "OK, Google" Hotword Detection on Any Screen in Android KitKat
When the Nexus 5 debuted, one of its coolest features was the fact that you could say "OK Google" any time you were on the home screen to launch a Google Voice Search. This feature was ultimately made available for other devices by way of the Google Now Launcher.Recently, Google has updated its Google Search functionality to include support for hotword detection on any screen. This feature is slowly rolling out on a per-account basis, and so far, almost nobody has it yet.
Update: July 3, 2012Before we get into the steps below this update, Redditor xStreame discovered a pretty cool way to force this feature on devices—try this first.Open Google Now Search for "OK Google Everywhere" (either with text or voice) Click any result (though this may be an unnecessary step) Back out of Google Now Go to Setting -> Voice Continue with Step 5 below No root, no need to download or install anything, just pure Google goodness. Let us know if this worked for you. If not, continue with the guide below.End UpdateBut if you're rooted, developer Adam Lawrence has an app that will let you skip this waiting period and get "OK Google" hotword detection on any screen. It even works with the screen off, so long as you're connected to a charger. Please enable JavaScript to watch this video.
PrerequisitesRooted Nexus 5 (or any rooted phone running Android KitKat) Unknown Sources enabled
Step 1: Update Relevant AppsFor this hack to work, you'll need to be running Android KitKat (sorry, no Android L) with the latest versions of the Google Search app and Google Play Services.These two app updates are also on a staged rollout, so you might not have received the update just yet. If you're not running Play Services 5.0 and Google Search 3.5.14, you can simply sideload the updates. I've got those ready for you to download and install at the links below:Google Play Services 5.0 Google Search 3.5.14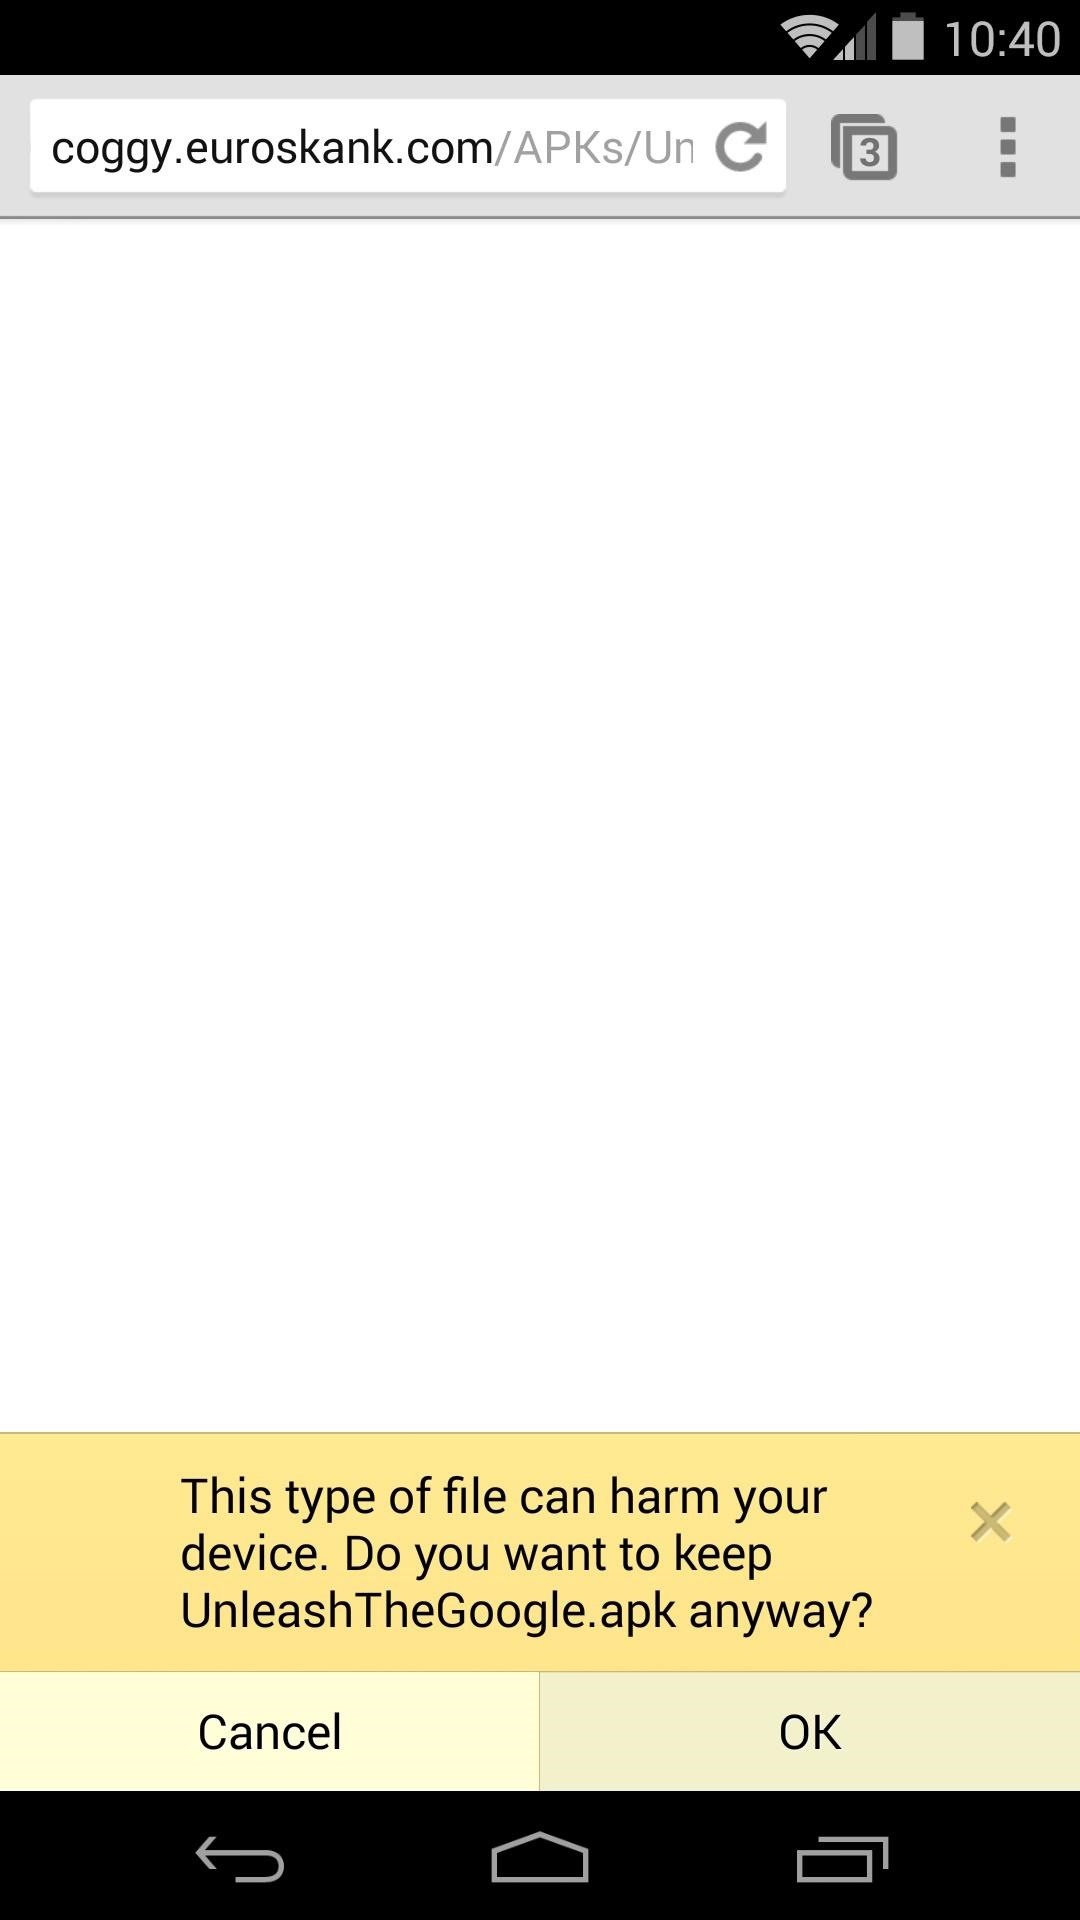
Step 2: Install UnleashTheGoogleThe app that makes this hack possible is Adam Lawrence's UnleashTheGoogle. This one basically unlocks a set of hidden options (referred to as "Dogfood") in your Google Search app that will allow you to force the new always-on hotword detection to come your way.Start by downloading the installer file which you can find here. When the download is finished, tap the notification to launch the install process. This will bring up the installer prompt, so tap Install on the next screen. When finished, tap Open. UnleashTheGoogle will ask for Superuser permissions, so Grant it those. You'll see a toast message letting you know that the hidden settings were unlocked and Google Search needs to be force-stopped for the changes to take effect.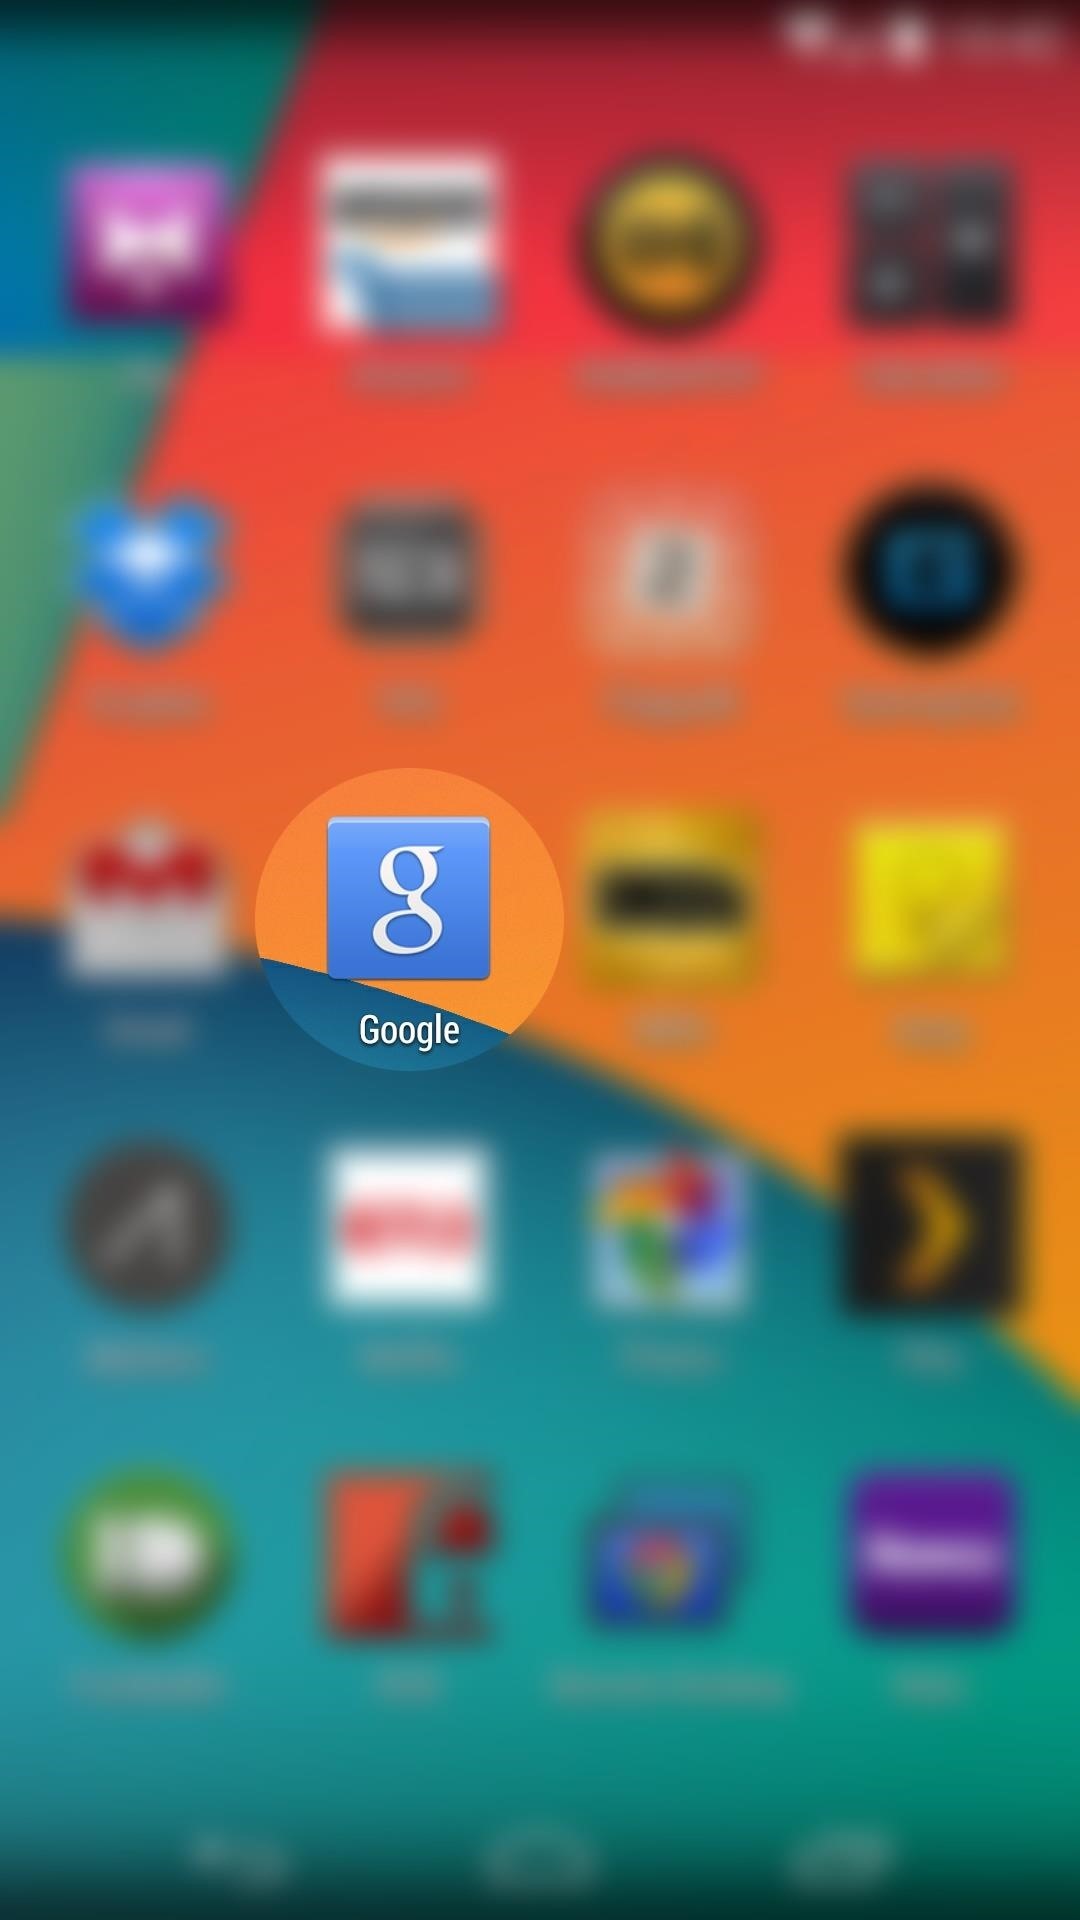
Step 3: Force Stop Google SearchFor the new changes to become visible, you'll need to force stop Google Search. From your app drawer, grab the Google app icon and drag it to the top of the screen. Drop it on the App Info icon up top. From the next screen, tap the Force Stop button and press OK on the subsequent pop-up.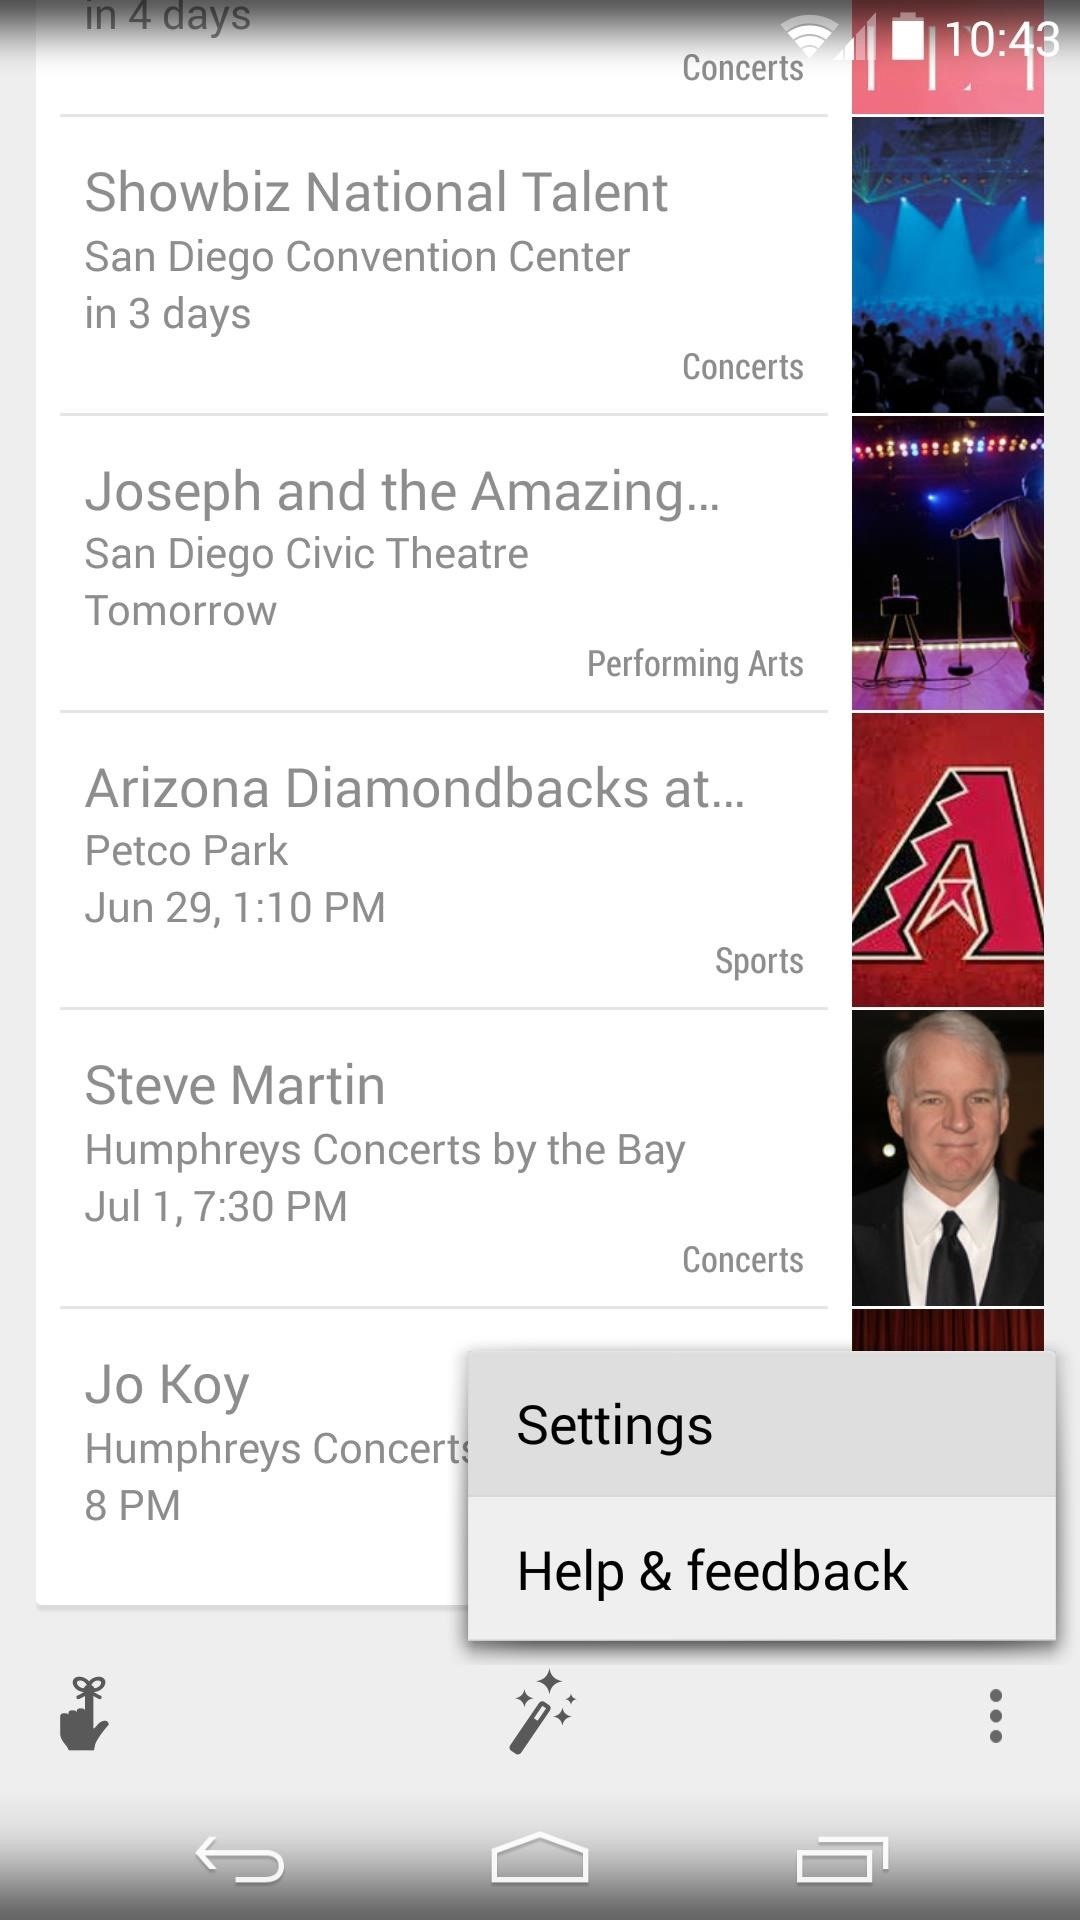
Step 4: Modify Google Search SettingsThe hidden Google Search settings are available to you at this point. Simply scroll down to the bottom of the Google Search screen and tap the three-dot menu button to access Settings (or with devices with on-screen buttons—like Galaxy devices—just tap the Menu button). In here, select Config Flags. Scroll through this next list of settings until you find one titled e300_voice_everywhere. Toggle this to ON, then two entries below it, toggle the enable e300 option to ON as well. Scroll down a bit more (the entries are in alphabetical order) until you find an option titled speaker_id_supported_locales. Tap it, then in the following box, type en-US (yes, this feature is US English-only at the moment). Next, scroll down some more and tap the Save Config Settings button. Finally, back out and tap the Google Search field for your changes to become active.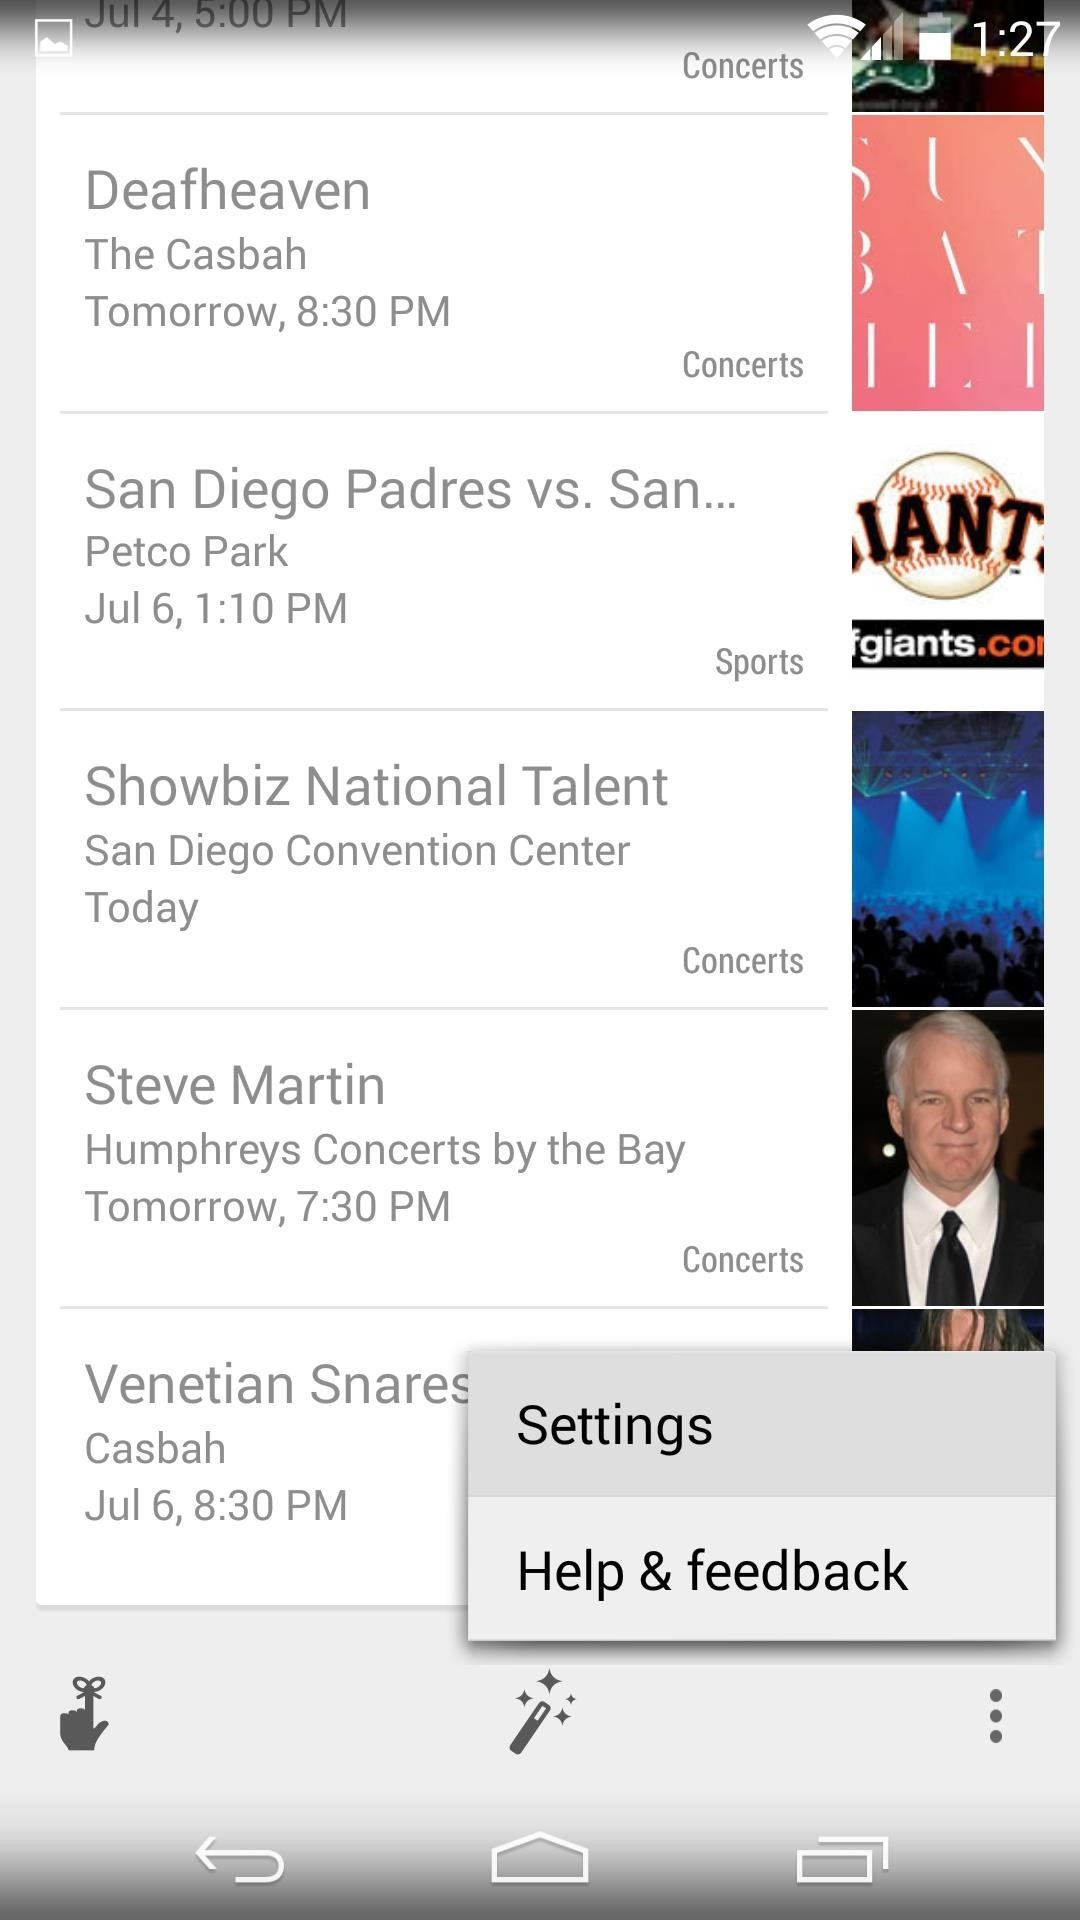
Step 5: Enable Always-Listening Hotword DetectionNow head back to the Settings for Google Now, select the Voice menu from here. Next, tap the OK Google" Detection entry and make sure From Google Search app is ticked. Then tick the box next to From any screen (as well as From lock screen, if you want that functionality). This will automatically launch an initial setup process designed to train Google Search to recognize your voice. Accept the terms and conditions, then on the next screen, say OK Google three times with your phone at about arm's length. You are now ready to trigger a voice search from any screen, inside any app. The hotword detection even works with your screen off, provided your phone is connected to the charger.This is a killer feature, in my opinion. Not only can I ask Google a question no matter what I'm doing on my device, I've found this is a great way to identify music and TV shows while I'm furiously Candy Crushing. And after having it running on my phone for three days now, I haven't noticed any discernible battery drain.How's it working for you? Let us know in the comments section below.
Many Many People Are Stuck In Recovery Mode So I Made This Video To Help You Fix Your Bricked iPhone! CLICK THIS LINK TO SEE THE NEW WAY TO DO THIS AND GET 4
How To Unlock iPhone 3 3G 3GS - Imei Phone Unlock
Here's how to do it in both Mac OS X and Windows. Mac OS X (Option 1) There are two different methods for Mac users. The first uses the Apple Terminal. Open it up and type in the following command: zip -e ~/Desktop/archive.zip. Then, drag the folder with the files you want to encrypt into the Terminal window. The command should look like this:
How to Create a Bootable Install USB Drive of Mac OS X 10.10
How To: Keep Photos from Hogging Your iPhone's Storage How To: The Fastest Way to Monitor Memory & Storage Usage on Your Samsung Galaxy Note 3 How To: Eliminate Excess Junk Data on Your Windows Phone 8 to Free Up More Storage Space
iPhone Hacks for More Storage - cosmopolitan.com
Do not close the page or open a new one while the file is still downloading. 7-Step Guide to Installing Any Android Keyboard on Your Android Phone. 22. Many Android users often envy other
Though different Android devices manufacturers work a lot to make their device's boot animation awesome, but it can be boring for you to see the same boot animation all the time when you turn your phone. In that case, you may want to customize Android boot animation and feel a bit of re freshness.
HTC U11 Boot Animation - YouTube
CES 2015: Linx Headbands Can Keep You Safe from Permanent Head Injuries How To: Create your own instant headband style CES 2015: These Headbands Are Really Comfortable Headphones for Sleeping or Running How To: Create a bouncy, curly hairstyle inspired by Barbie
A quick recap of injuries. « World Cup :: WonderHowTo
Step Two: Build Out Your MyHeritage Family Tree. After creating your account and starting your tree with one of those options, click Go To My Family Tree to work on your tree. You'll see a screen like this: By default, the Family Tree view displays the "home" person in your tree (#1), who is often you.
How to print your family tree off MyHeritage.com - YouTube
Huawei may have recently made a Nexus phone, but it seems like the company may be looking to edge away from needing Google and working on its own mobile OS.
Leak: Rumored Specs For The Huawei MediaPad M3 8.0
News: Night Mode Is Coming to Android! How To: Track Your Sleep Activity in Apple's Health App for iPhone How To: Enable 'Night Shift' Mode to Prevent Your iPhone from Keeping You Awake at Night News: This Trick Lets You Use Night Shift When Your Battery Is Dying News: Android Users Rejoice! Twitter Update Brings Automatic Night Mode
How to Enable Dark Mode & OLED Night Mode in the Twitter App
It feels strange to be walking through an open field in a small village in the English countryside. There's no one else around — just the four of us: me, my husband, my 12-year-old son, and my adult niece.
Turn a Vacation into a Treasure Hunt with Just Your Phone
With the iPhone 4S you finally have the ability to copy and paste text (or images) from one place to another. This right granted to every computer user took awhile to make it to the iPhone, but Apple has added Copy and Paste (and Cut) functions — and, in its own inimitable way, brought pizzazz to
How To Cut, Copy & Paste On The iPhone 6 and 6 Plus
howtouseyouriphone.com/how-to-cut-copy-paste-on-the-iphone-6-and-6-plus/
To cut, copy and paste on the iPhone is a very useful ability to know. The process of doing so is very easy at the same time and allows you to copy text, images and links for use in other areas. Below is a full tutorial that will teach you how to cut, copy and paste with your iPhone, iPad or iPod Touch. Cut, Copy And Paste With The iPhone
How To Copy And Paste On The iPhone and iPad - YouTube
How To: Make DIY gummy candy out of gelatin How To: This Easy Tip Will Make Your Homemade Cupcakes Look More Professional News: The Hollagram Selfie Booth Shows How Close We Are to Functional Holograms How To: It's Raining Sweets and Treats! How to Make Your Own Pneumatic Candy Cannon
Today's Tidbit: Candy Can Help You Curb "That Time of the
0 comments:
Post a Comment